Indoor air quality testing gives clear data about air in a home. Indoor air quality testing helps people find pollutants, assess risk, and plan fixes. This guide lists common tests, recommended timing, and trade-offs between DIY and professional testing. It aims to help readers decide when to test and what to do with results. It also explains how to prepare for testing, how to interpret typical findings, and practical next steps for reducing contaminants so testing leads to lasting improvement.
Key Takeaways
- Indoor air quality testing is essential for identifying pollutants that impact health and guiding effective home improvements.
- Testing targets biological pollutants like mold, pollen, and dust mites, helping to address moisture and allergen issues.
- People should conduct air quality tests after events like water damage, renovations, or new respiratory symptoms to assess risks timely.
- Regular testing, including seasonal checks and radon monitoring, ensures ongoing safety and informs maintenance decisions.
- DIY test kits offer affordable initial screening, but professional testing provides expert analysis and reliable results, especially for complex issues or legal needs.
- Using indoor air quality testing results helps homeowners and landlords improve ventilation, reduce contaminants, and protect occupant health.
Why Indoor Air Quality Testing Matters For Your Health And Home
Indoor air quality testing matters because people spend most time indoors and air can carry health hazards. Poor air causes headaches, allergies, asthma attacks, and long-term lung harm. Indoor air quality testing identifies sources such as leaks, poor ventilation, and contaminated materials. Homeowners use test results to pick fixes: increase ventilation, replace filters, remove mold, or seal radon. Landlords use testing to meet safety expectations. Buyers and sellers use testing to set price and negotiate repairs. Regular testing gives measurable proof that a space is safe or needs repair.
Beyond identifying a problem, testing provides a baseline so you can measure whether remediation worked. For medically vulnerable occupants—children, older adults, pregnant people, or those with chronic respiratory illness—testing helps prioritize fast action. For property managers and owners, documented results support maintenance schedules and can reduce liability by showing proactive care. Finally, testing can reveal issues that are not obvious, such as intermittent combustion byproducts from a malfunctioning appliance or hidden moisture behind finished walls.
Common Pollutants To Test For
Homes contain a mix of biological, chemical, and invisible threats. Indoor air quality testing can target specific pollutants. Testing priorities depend on the home age, location, occupant health, and recent events such as water damage or renovation. The next three subheadings list common targets and what tests reveal.
When choosing which pollutants to test for, consider symptoms (sneezing, odors, headaches), recent history (water intrusion, painting, new carpeting), and known risks in your area (radon prevalence, wildfire smoke). A focused approach—testing for the most likely contaminants first—helps reduce cost and speeds decision-making. If initial screening shows elevated levels, follow-up testing can use more specific methods to identify sources and concentrations over time.
Biological Pollutants: Mold, Pollen, Dust Mites, And VOCs From Living Sources
Biological pollutants include mold spores, pollen, dust mites, and microbes. Indoor air quality testing for biology uses air samples and surface swabs. Labs count spores and identify species when needed. High mold spore counts point to moisture problems that need drying and removal. Dust mite allergens show up in carpets and bedding: testing guides deep cleaning and mattress choices. Plants and pets raise pollen and dander: testing helps decide on changes to cleaning and ventilation. Some living sources also emit VOCs: testing helps separate biological VOCs from chemical ones.
When a biological contaminant is indicated, recommended actions typically include locating and addressing moisture sources, targeted cleaning or removal of contaminated materials, and improving drying and ventilation. For mold, inspection combined with sampling helps determine whether the issue is localized or widespread. For allergens, simple interventions—encasing mattresses, washing bedding, using HEPA air cleaners, and reducing indoor humidity—are often effective. Test results can guide which of these measures will likely reduce exposures most quickly.
When And How Often You Should Test Indoor Air Quality
People should test air after events that raise risk: water damage, renovation, mold sighting, new combustion appliances, or when someone develops new respiratory symptoms. Homes in high-radon regions need testing before purchase and every few years after mitigation. Seasonal checks help: test for allergens in spring and for combustion pollutants in winter. Indoor air quality testing also makes sense when occupancy changes or after major pests or chemical spills. Regular monitoring devices provide continuous data: periodic lab tests give detailed profiles.
A practical routine is to perform a general screen annually or when conditions change, and to perform targeted tests after a triggering event. Continuous monitors for PM2.5, CO, and basic VOC trends are useful year-round to spot spikes, while laboratory analyses (for mold species, radon, or detailed VOC panels) are scheduled as needed. When testing before a real estate transaction or remediation project, allow time for follow-up testing after any fixes so you can confirm improvement.
DIY Versus Professional Testing: Pros, Cons, And Cost Expectations
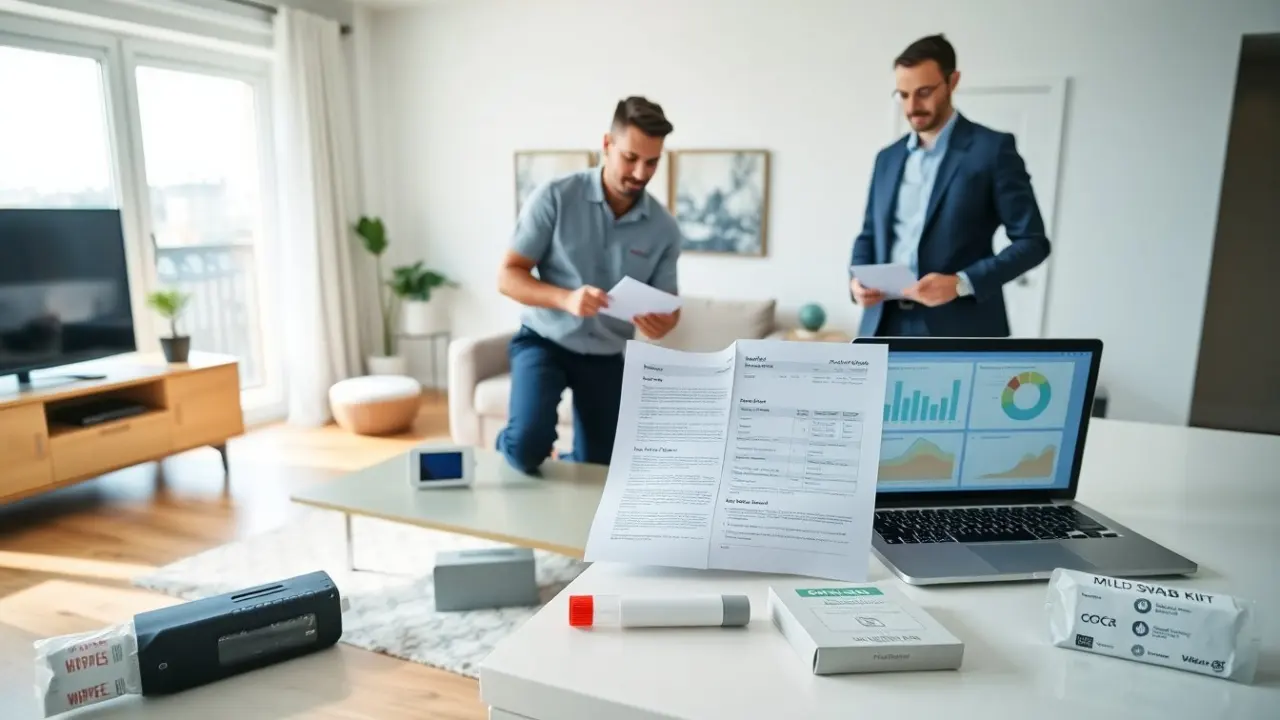
DIY tests let people screen for problems at low cost. Home test kits for mold, radon, and basic VOCs cost from $15 to $150. DIY devices report basic PM2.5 and CO levels in real time. These tools help decide whether to hire a pro. Professional indoor air quality testing gives expert sampling, chain-of-custody lab analysis, and tailored recommendations. Professionals charge from $300 to $1,500 depending on tests and home size. Pros find hard-to-detect problems and judge source. Cons of DIY include false reassurance and sampling errors. Cons of pro testing include higher cost and scheduling. People often start with DIY screening, then hire a pro when results show concern or when legal documentation is needed.
Choosing between DIY and professional testing depends on your goals. Use DIY kits and consumer monitors for basic screening, continuous trend monitoring, and quickly answering whether an obvious problem exists. If results are elevated or if occupants have serious health issues, hire a qualified professional who can design a sampling plan, use calibrated instruments, and interpret lab reports in context. For homeowners undertaking repairs, a professional can recommend remediation priorities and verify success with post-remediation testing.
To get the most value from any test: prepare the space (limit activities that generate dust or VOCs during sampling), document recent events (cleaning, painting, cooking, or flooding), and keep a log of symptoms and times when they occur. When hiring a pro, ask about sampling methods, which laboratories they use, whether they provide written recommendations, and how they handle chain-of-custody and reporting. After receiving results, match the findings to practical steps—ventilation, source control, filtration, and, if needed, professional remediation—and plan follow-up measurements to confirm improvement.